


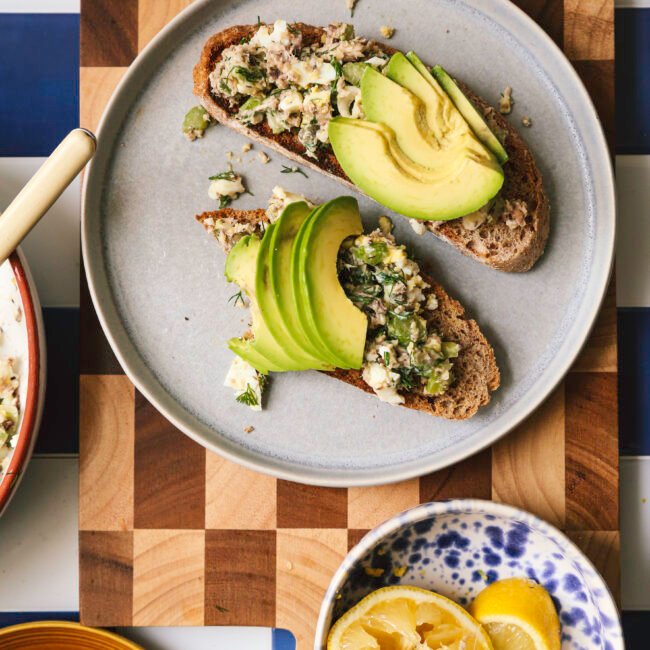
A Smarter Toast: Eggs, Sardines & Omega-3 for Brain Health
Jump to Recipe Instagram Tiktok A Smarter Toast: Eggs, Sardines & Omega-3 for Brain Health Written by Dietitian Elis Halenko & Nutrition Intern, Rachel Yang Sponsored by

Rethinking Snack Time: Dark Chocolate Peanut Butter Cereal Treat
Jump to Recipe Instagram Tiktok Rethinking Snack Time: Dark Chocolate Peanut Butter Cereal Treat Written by Dietitian Elis Halenko and nutrition intern Rachel Yang Sponsored by the
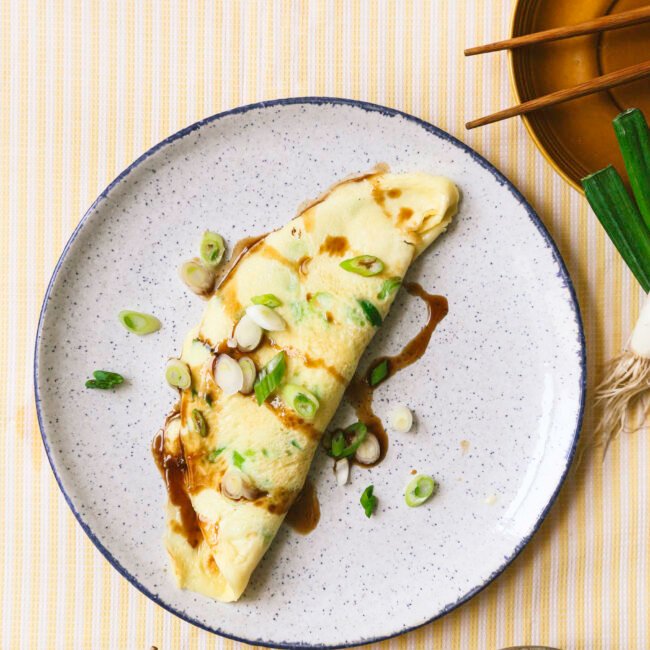
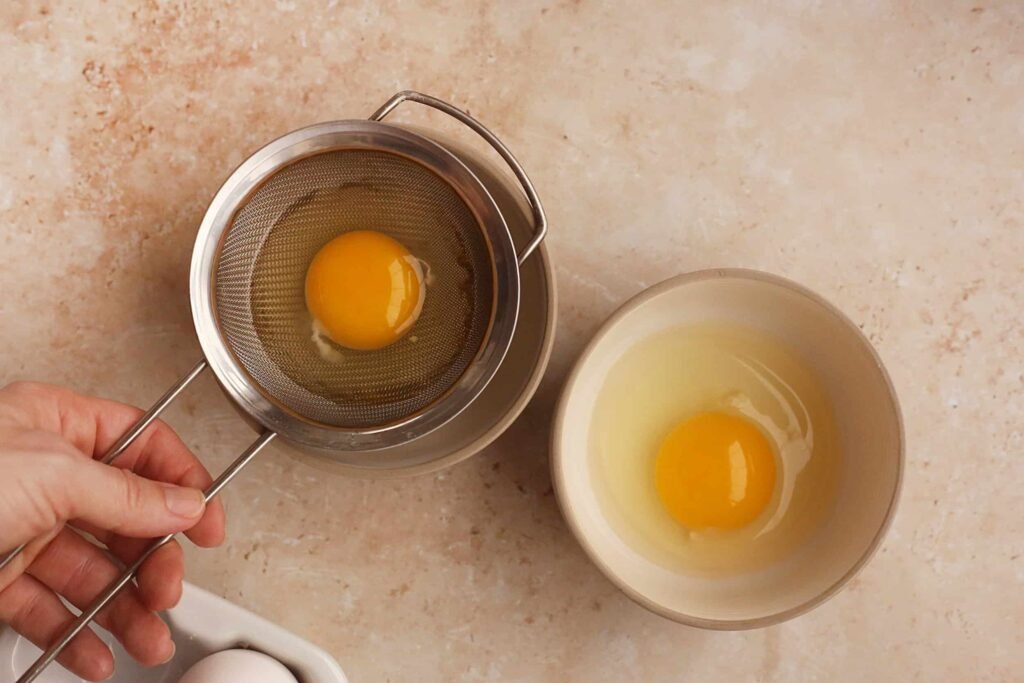
Cracking 3 Egg Myths & Egg Nutrition Spotlight featuring Green Onion & Egg Pancakes
Jump to Recipe Instagram Tiktok Cracking 3 Egg Myths & Egg Nutrition Spotlight featuring Green Scallion & Egg Pancakes Written by Dietitian Elis Halenko & nutrition int
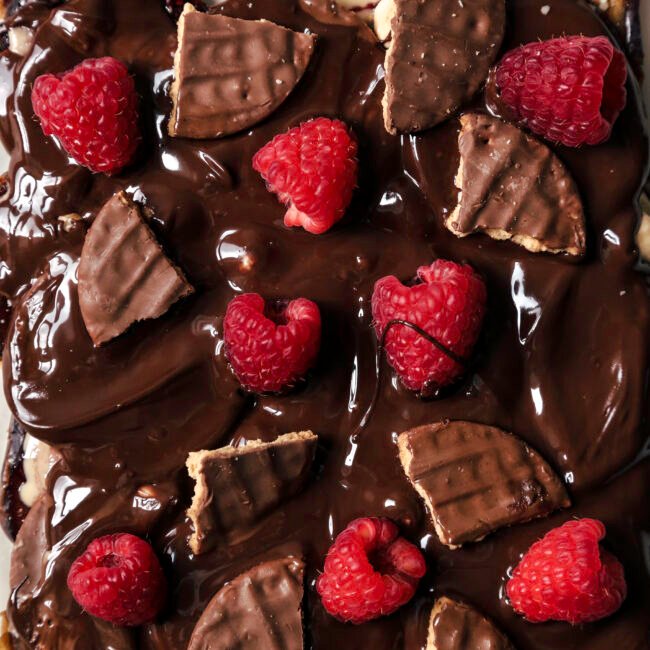
Simple Swaps Valentine’s Day Treat Box
Jump to Recipe Instagram Tiktok Simple Swaps Valentine’s Day Treat Box Written by Dietitian Elis Halenko & Nutrition Intern, Rachel Yang Sponsored by the Canadian Sugar

"I do not consider myself as anything special unless I am able to achieve success. I strive to keep moving forward, organizing my life, and facing challenges head-on."
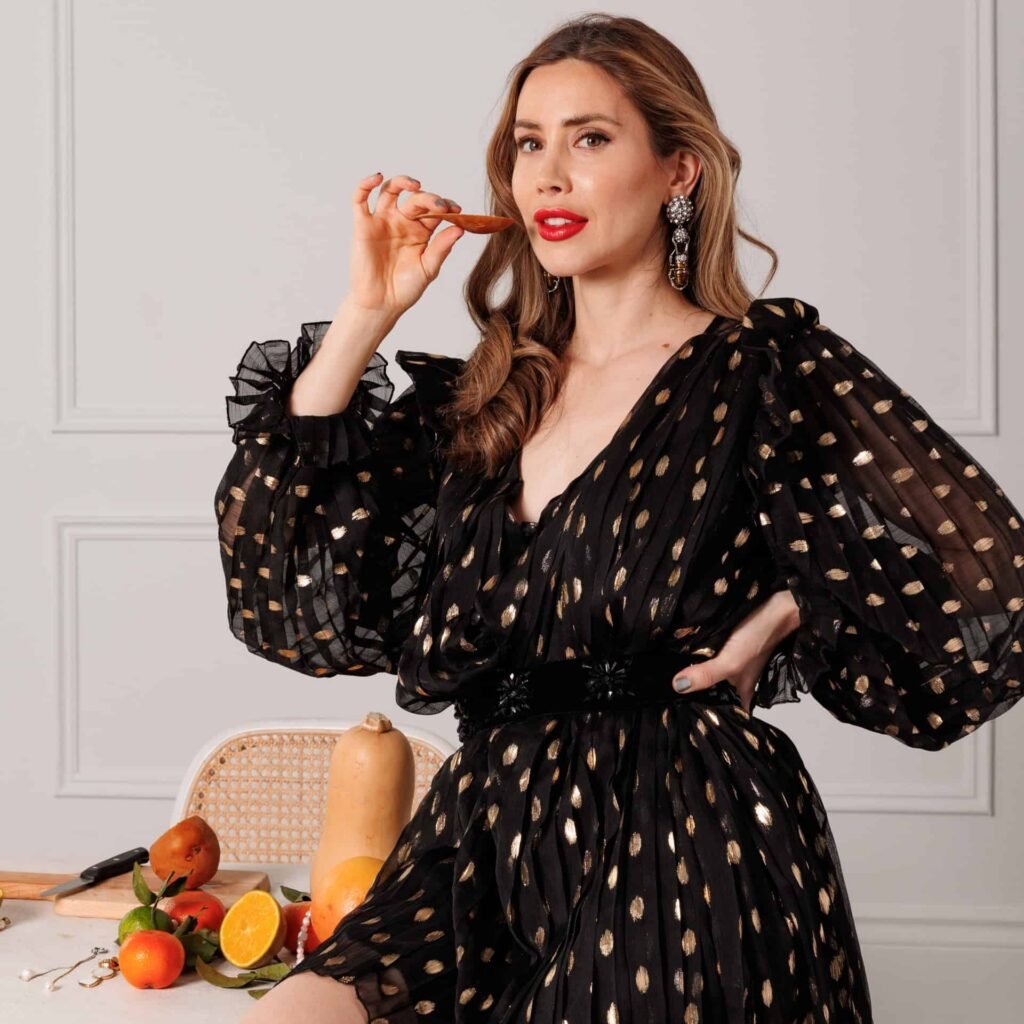
Elis Halenko